I had some fun putting a guest post together for Portland blog Sweet Athena. If you aren't yet familiar, Sweet Athena is a fun craft and foodie blog run by two friends, Jess and Lindz. They specialize in fun projects and delicious recipes. (Really is there more to life than that?)
I put together a tutorial for a cloth belt. You can read about it here or there. Enjoy!
I put together a tutorial for a cloth belt. You can read about it here or there. Enjoy!
***
As much as I would love to be sharing a tutorial on making the most awesome dress of all time, I realize that: 1) "awesome" is open to interpretation; and 2) such an amazing feat may not be accomplished in a handful of simple steps.
Instead I vote that we split the diff, so to speak, and make ourselves an adorable little fabric belt. You don't really need much to get started.
Instead I vote that we split the diff, so to speak, and make ourselves an adorable little fabric belt. You don't really need much to get started.
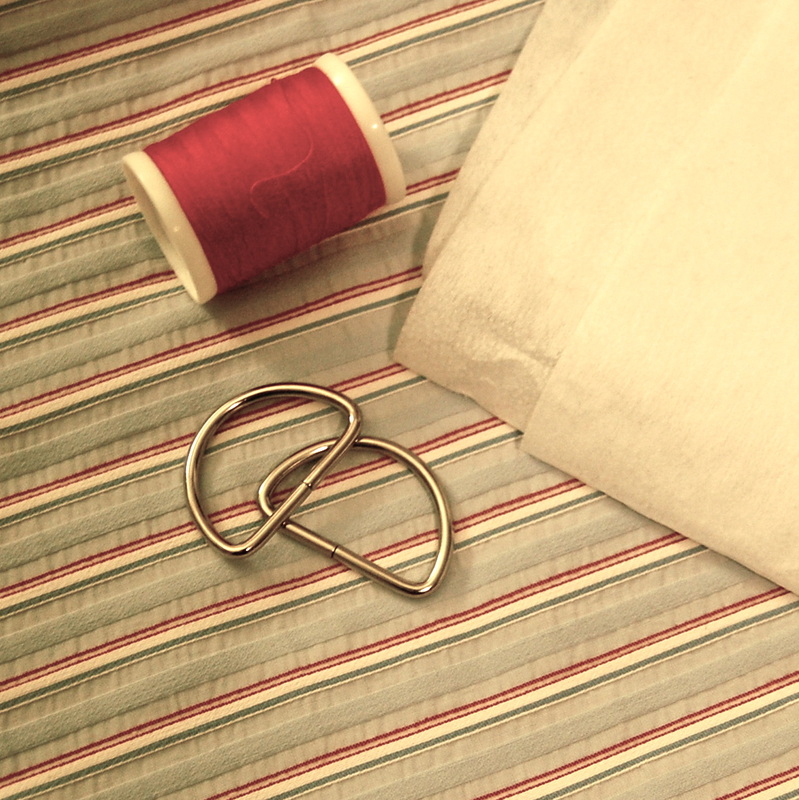
SUPPLIES:
- Fabric. Choose something sturdy, like cotton, and without stretch. Go nuts. Any print you like. How much? See Step 1.
- Thread. Should match the fabric or choose something contrasting.
- Fusible Interfacing. It adds some stiffness and structure. It glues itself to the fabric with you iron it on.
- Two D rings. You know? Metal loops kind of shaped like the letter "D".
- Iron. For ironing.
- Sewing Machine. For sewing.
- Scissors. You get the gist.
- Measuring Tape. Obvs.
STEP 1
Use the measuring tape to measure around your waist, through the belt loops of your favorite jeans, or the circumference of wherever you will be sporting your new belt. Take that number (in inches) and add ten more inches.
The extra ten inches takes into consideration the finished edges, the part that encloses the D Rings, and extra tail so you can adjust your belt. Example: If I measure through the belt loops of my low-rise trousers the number I get is 36 inches. Add 10 and I get 46 inches. I need length of 46 inches of fabric.
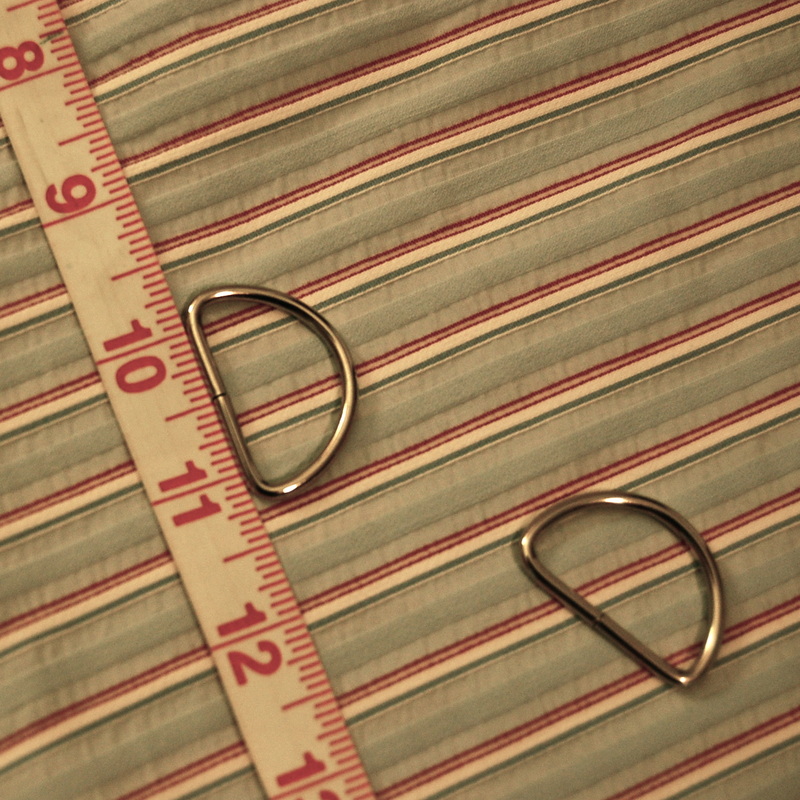
I bought 1-inch D Rings, so the finished belt will have a width of 1 inch. To add seams I need to include 5/8 of an inch. We will be working on a fold, so there will only be one seam.
Check this math: (1" x 2) + (5/8" x 2) = 3 1/4". Get it? 1 inch for each side plus 1 1/4" for the seams along one edge.
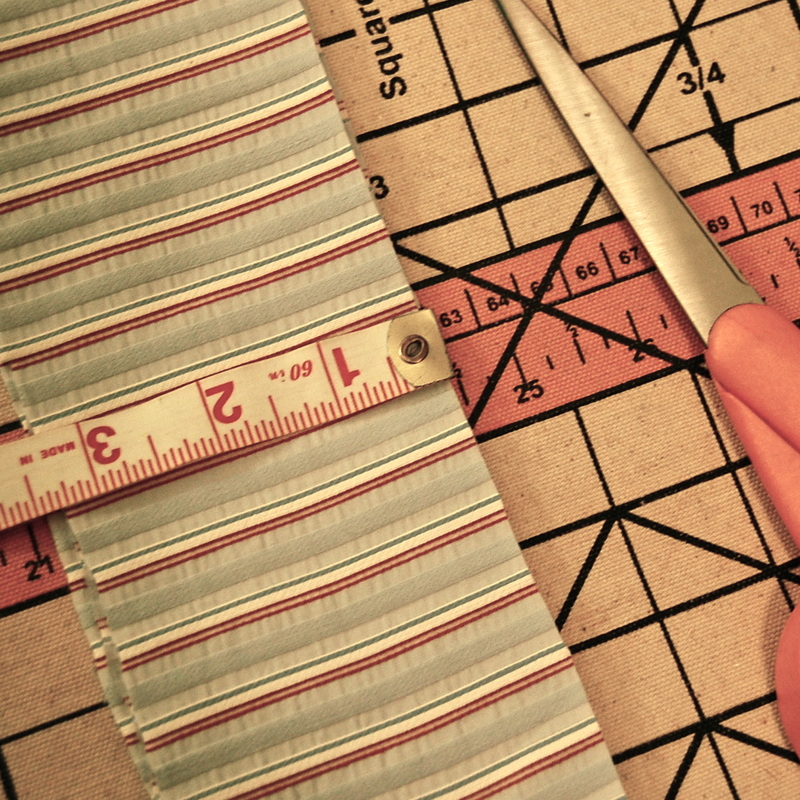
In my case I will need one piece of fabric that measures 46" by 3 1/4". I'm going to use scraps I have of some really springy seersucker. I think we all need a reminder that winter will be over. Someday.
Check this math: (1" x 2) + (5/8" x 2) = 3 1/4". Get it? 1 inch for each side plus 1 1/4" for the seams along one edge.
In my case I will need one piece of fabric that measures 46" by 3 1/4". I'm going to use scraps I have of some really springy seersucker. I think we all need a reminder that winter will be over. Someday.
STEP 2
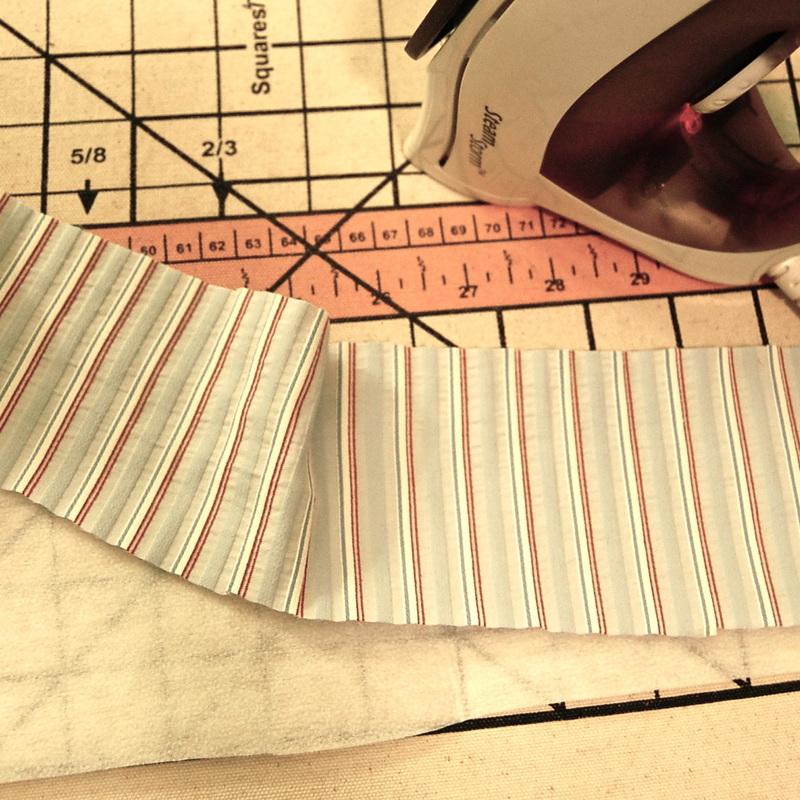
Once you have your long strip of carefully chosen fabric, cut some interfacing of the same size. Then iron the fusible (gluey) side of the interfacing to the wrong side of the fabric.
Oh, yeah. Now it's starting to look professional, right?
Once you have your long strip of carefully chosen fabric, cut some interfacing of the same size. Then iron the fusible (gluey) side of the interfacing to the wrong side of the fabric.
Oh, yeah. Now it's starting to look professional, right?
STEP 3
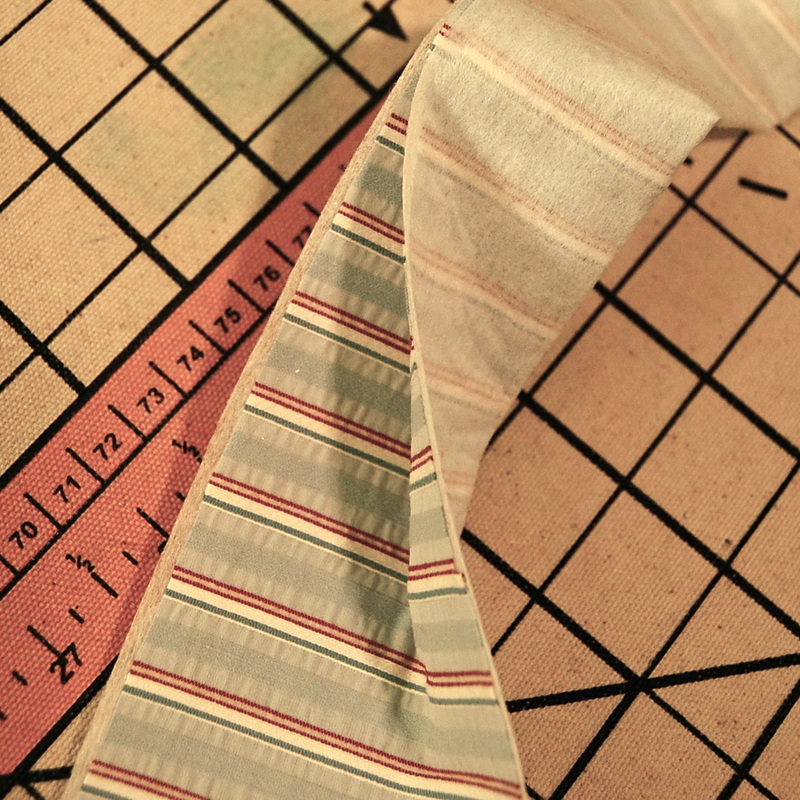
Fold the strip in half the long way. The wrong side, with the interfacing should be on the outside. You are basically looking at an inside out belt at this point.
Fold the strip in half the long way. The wrong side, with the interfacing should be on the outside. You are basically looking at an inside out belt at this point.
STEP 4
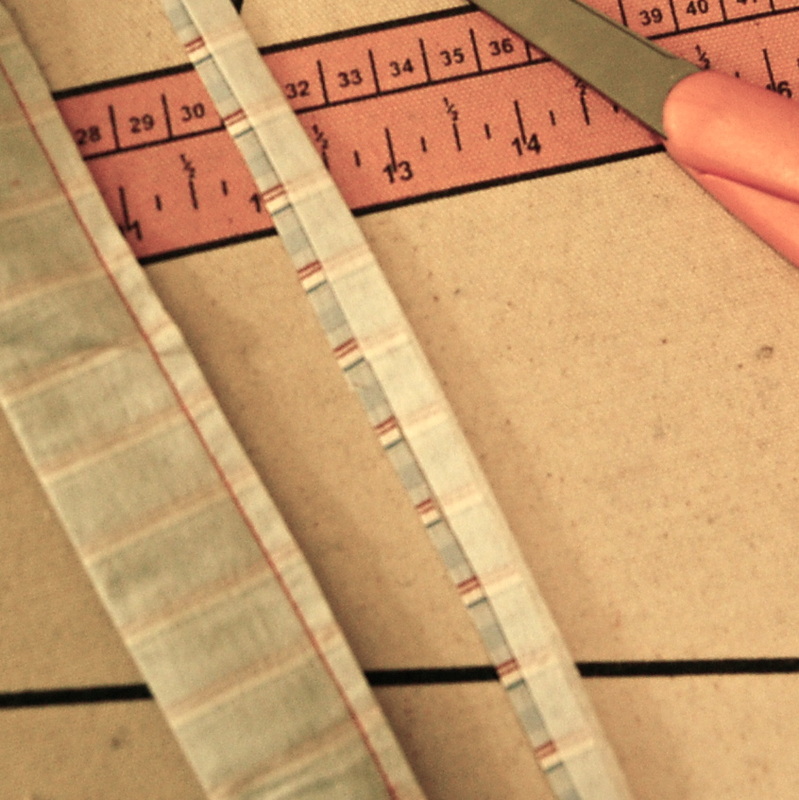
Get your machine ready. Sew along the long edge. Remember we measured for a 5/8" seam allowance.
When you are finished, trim that raw edge. Trust me, it'll make the next step easier.
Get your machine ready. Sew along the long edge. Remember we measured for a 5/8" seam allowance.
When you are finished, trim that raw edge. Trust me, it'll make the next step easier.
STEP 5
Flip it! Yup, you have to turn the whole thing right side out. Everyone's got their own method. I'm partial to using safety pins attached to one end and guiding it through. I'll leave it up to your imagination.
STEP 6
Phew. That was pretty rough, right? Well, you'll be happy to hear that the worst is over. Now you are going to want to give your belt (which is actually starting to look like a belt) a really good pressing. Make sure the seam looks good and that everything is nice and flat.
OPTIONAL: If you are feeling fancy, this is the part where you can do some top stitching. You can use a contrasting thread and sew all around the long lengths or perhaps sew some zig zag stitches.
STEP 7
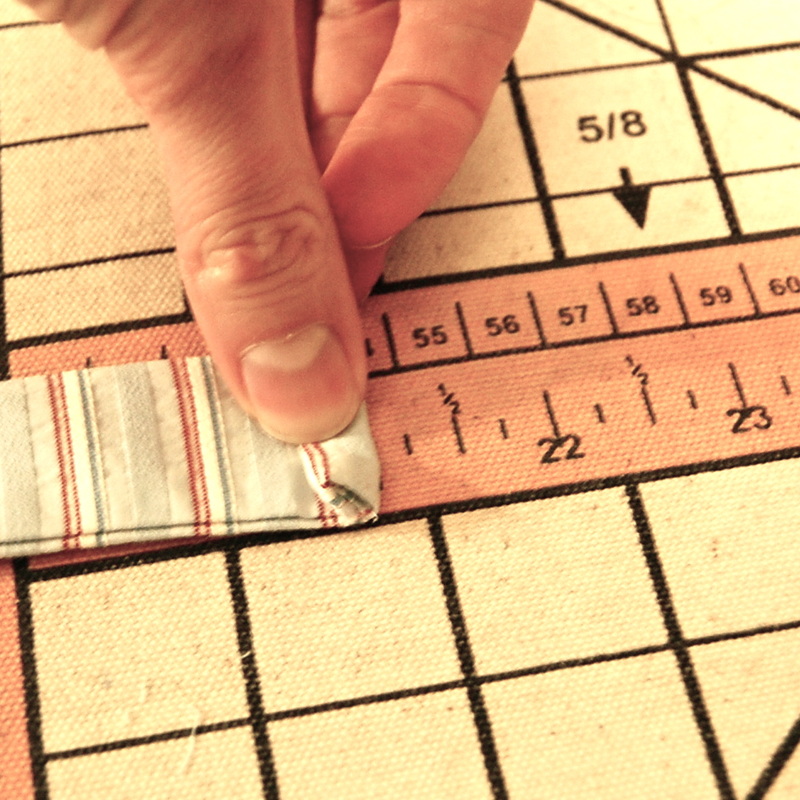
Now you are going to finish one open end of the belt. Simply fold the fabric under itself, press, and stitch.
Now you are going to finish one open end of the belt. Simply fold the fabric under itself, press, and stitch.
STEP 8
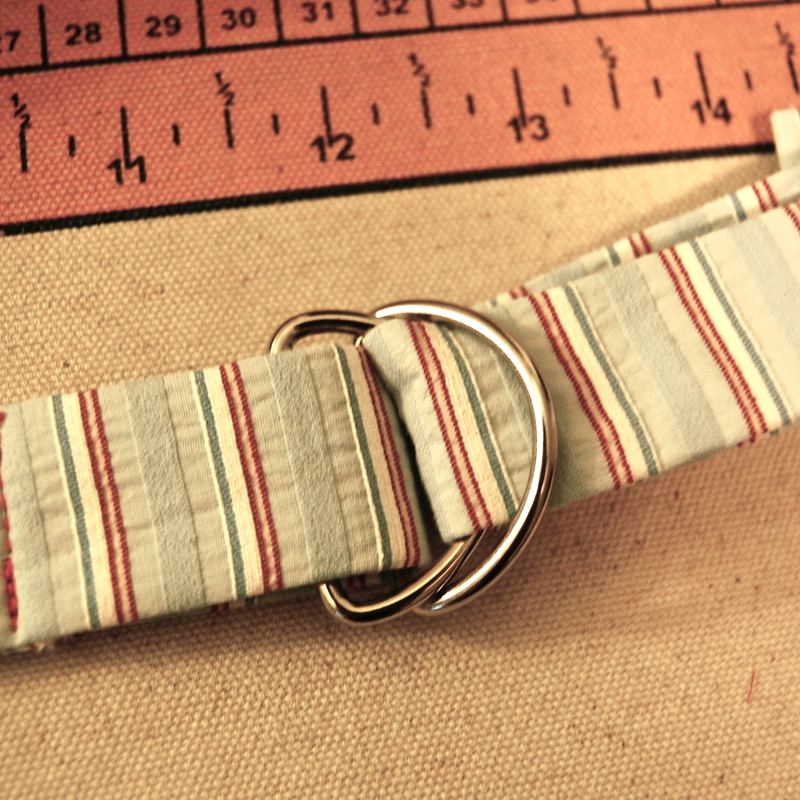
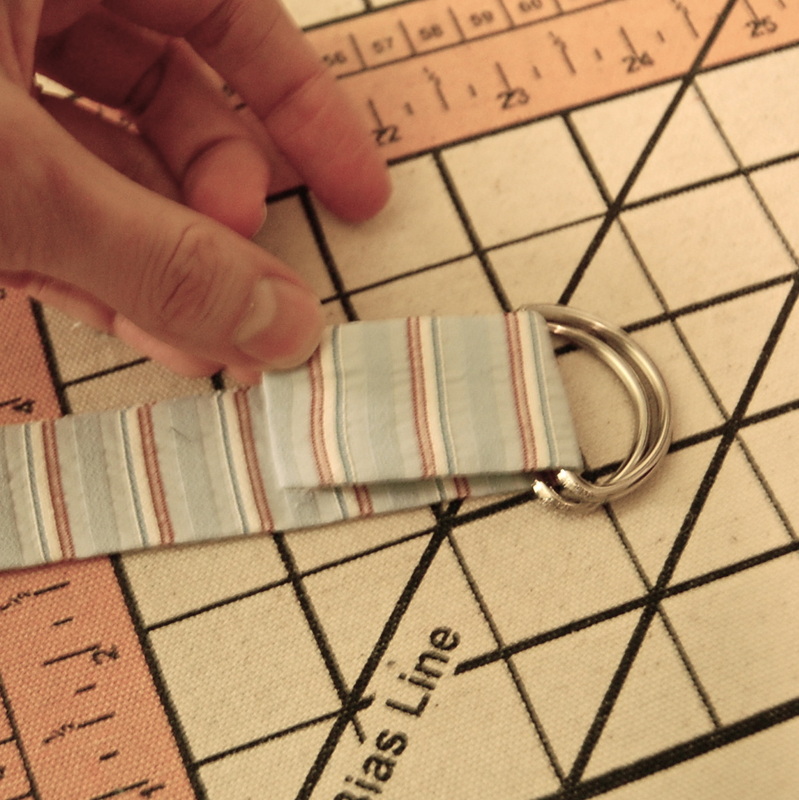
To finish up, simply slip the belt through the two D Rings. Place them about three inches from the remaining unfinished edge. "Trap" the D Rings by folding the fabric, making a loop. Tuck under that raw edge and sew it in place on the belt.
You're done!
To finish up, simply slip the belt through the two D Rings. Place them about three inches from the remaining unfinished edge. "Trap" the D Rings by folding the fabric, making a loop. Tuck under that raw edge and sew it in place on the belt.
You're done!
That's really all there is to it. You should now have a fun little accessory to add to your wardrobe. I'd love some sharing when you've finished yours!

 RSS Feed
